










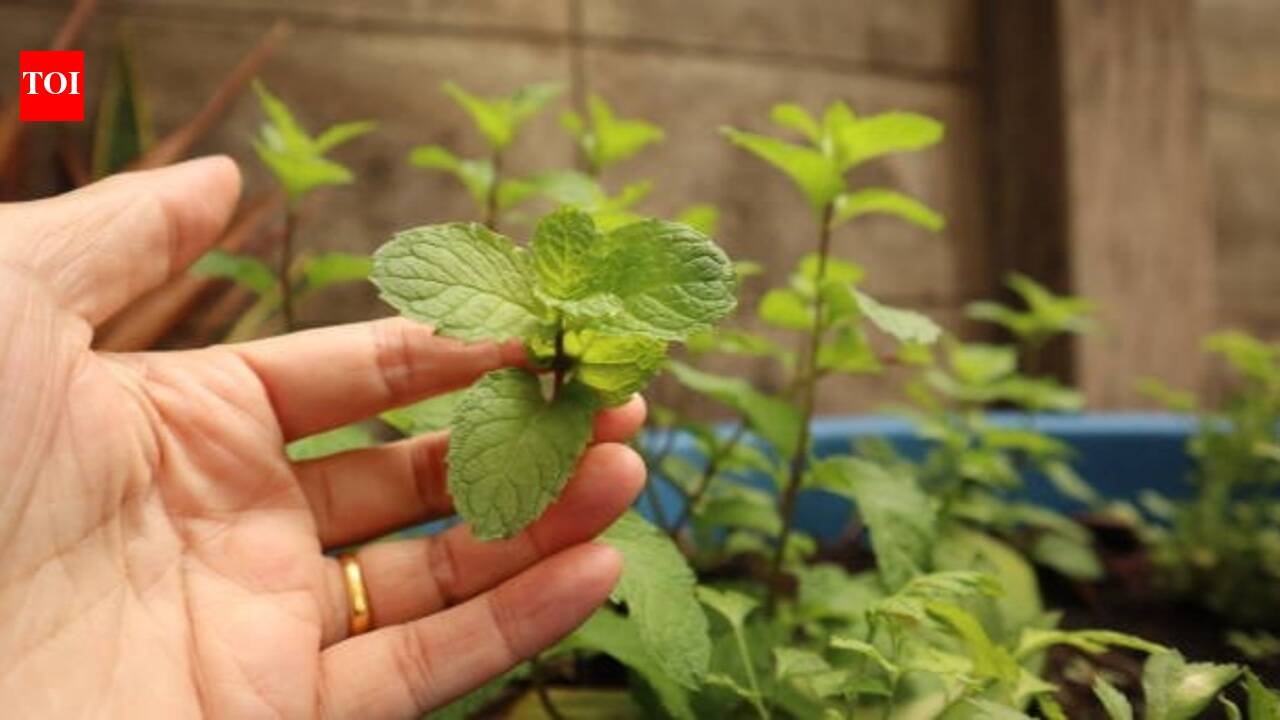
There is something deeply satisfying about snipping fresh mint straight from your own balcony instead of running to the market every time a recipe calls for it. Pudina, as it is known across Indian kitchens, is one of the most forgiving herbs a home gardener can grow, and the best part is that it does not need elaborate garden space or specialised equipment to thrive. A single pot, a little sunlight, and some basic care are genuinely enough to keep you in fresh mint leaves for chutneys, teas, raitas, and garnishes almost all year round. Whether you are a complete beginner with no gardening experience or someone who has struggled to keep plants alive in the past, pudina is refreshingly hard to fail with, provided you understand a few simple things about how it grows.
Choosing the right pot and soil
Mint has a sprawling, vigorous root system that spreads quickly, so the pot you choose matters more than people expect. A wide, shallow container generally works better than a narrow, deep one, since mint roots tend to grow outward rather than straight down. Anything with a diameter of at least eight to ten inches gives the plant enough room to establish itself comfortably. Drainage holes at the base are non-negotiable, because mint despises sitting in waterlogged soil and will quickly develop root rot if water has nowhere to escape. For soil, a light, well-draining mix works best, regular garden soil combined with compost and a handful of coarse sand or cocopeat creates the loose, airy texture mint roots prefer, allowing both moisture retention and proper drainage at once.
Starting from cuttings rather than seeds
While pudina can technically be grown from seed, cuttings are by far the easier and faster route, and this is how most home gardeners actually do it. Simply pick up a small bunch of fresh mint from the market, choosing stems that look healthy and green rather than wilted. Snip off the lower leaves from each stem, leaving the top few intact, and place the stems in a glass of water, ensuring the bare lower nodes are submerged. Within about a week to ten days, you will notice small white roots beginning to emerge from those nodes. Once the roots are roughly an inch or two long, the cuttings are ready to be transferred into soil, giving you a significant head start compared to waiting weeks for seeds to germinate.
Planting the rooted cuttings
Once your cuttings have developed a decent root system, planting them is straightforward. Fill your chosen pot with the prepared soil mix, leaving about an inch of space below the rim. Make small holes across the pot, spaced a few inches apart, and gently place each rooted cutting into a hole, covering the roots and the lower portion of the stem with soil while keeping the leafy top exposed. Water the soil immediately after planting to help it settle around the roots and eliminate air pockets. Placing multiple cuttings in a single pot rather than just one or two speeds up how quickly the pot fills in, since mint naturally spreads and fills empty space as it matures.
Sunlight requirements
Mint enjoys sunlight but does not demand the intense, all-day exposure that many other herbs need. A spot that receives four to six hours of morning sunlight, followed by some afternoon shade, tends to produce the healthiest growth, particularly in regions where summer afternoons get harshly hot. In peak summer, too much direct, scorching sun can actually stress the plant, causing leaves to turn pale or crisp at the edges. A balcony corner, a windowsill that catches gentle morning light, or a spot partially shaded by a larger plant all work well. If you notice leggy growth with long gaps between leaves, that is usually a sign the plant needs slightly more light than it is currently getting.
Watering without overdoing it
Mint likes consistently moist soil, but there is an important difference between moist and waterlogged. The general rule is to water whenever the top inch of soil feels dry to the touch, rather than sticking to a rigid daily schedule that does not account for weather or season. In hot, dry conditions, this might mean watering once a day, while cooler or humid weather may only require it every two to three days. Checking the soil with a finger before watering is more reliable than guessing, and it helps avoid the two most common mint-killing mistakes: letting the pot dry out completely, or drowning the roots in standing water.
Feeding the plant for steady growth
Mint is not a particularly heavy feeder, but a little nutritional support goes a long way toward keeping growth lush and leaves flavourful. Mixing a handful of compost or well-rotted vermicompost into the soil at planting time provides a solid nutritional base. After that, feeding the plant with diluted liquid fertiliser or compost tea once every three to four weeks during the growing season helps sustain healthy, vigorous leaves. Over-fertilising, particularly with strong chemical fertilisers, can actually reduce the aromatic oils responsible for mint’s characteristic flavour, so a light, occasional feeding schedule generally produces better-tasting leaves than a heavy one.
Pruning and harvesting regularly
One of the best things you can do for a mint plant is harvest it often, since regular trimming actively encourages bushier, denser growth rather than a few long, straggly stems. Once the plant reaches around four to six inches in height, begin snipping stems just above a leaf node, which prompts the plant to branch out from that point. Harvesting from the top rather than pulling whole stems keeps the plant productive for much longer. If you notice the plant becoming leggy or overly woody at the base despite regular harvesting, a more aggressive prune back to a few inches above soil level often triggers a fresh, vigorous flush of new growth within a couple of weeks.
Common problems and how to fix them
Mint is fairly resilient, but a few issues do crop up occasionally. Yellowing leaves usually point to overwatering or poor drainage, while crispy, browning edges often signal too much direct sun or underwatering. Powdery mildew, a fine white coating on leaves, can appear in overly humid, poorly ventilated conditions, and is best managed by improving airflow around the plant and avoiding wetting the leaves directly when watering. Aphids and spider mites occasionally show up too, and a simple spray of diluted neem oil usually keeps them under control without resorting to harsh chemical pesticides.
Why one pot is all you really need
The beauty of growing pudina in a single pot is how self-sufficient it becomes once established. Mint spreads so readily that a well-maintained pot can produce a steady, generous supply of leaves for months, often requiring nothing more than regular watering and occasional harvesting to stay productive. Because it regenerates so quickly after trimming, one healthy pot can comfortably meet the mint needs of an average household without ever needing a second container, making it one of the most rewarding and low-effort additions any home garden can have.
Disclaimer:
This article is intended for general gardening guidance only. Actual growing conditions, timelines, and results can vary based on climate, soil quality, sunlight availability, and regional weather patterns. For specific plant health issues or region-specific advice, consult a local nursery or horticulture expert.