











There’s a decent chance you’ve thrown out more fruit peel this month than you’d like to admit, orange skins tossed after breakfast, watermelon rind scraped into the bin, banana peels that go straight into the compost without a second thought. Most of us treat peel as pure waste, but with a bit of sugar, some patience, and barely any special equipment, that same peel can turn into a genuinely delicious homemade candy. Here’s a simple, forgiving method for turning kitchen scraps into a sweet treat, along with a few tips for getting it right the first time.
Which peels actually work best
Not every fruit peel is suited to this, so it helps to know where to start. Citrus peels, orange, lemon, grapefruit, and even sweet lime, are the classic choice and genuinely the easiest to work with, since their natural bitterness mellows out beautifully once candied. Watermelon rind, the white part just beneath the green skin, also candies surprisingly well and takes on a texture almost like a soft fruit jelly. Apple peels can work too, though they’re thinner and cook down faster, so they need a slightly shorter process than the thicker citrus or watermelon peels.

Step one: Prep the peels properly
Start by washing the fruit thoroughly before peeling, especially if you’re using citrus, since pesticide residue and wax coatings tend to sit right on the skin. Once peeled, scrape away most of the white pith on citrus peels, since too much of it can make the finished candy taste unpleasantly bitter, though a small amount left behind is completely fine. Cut the peels into even strips or small pieces, roughly the size you’d want the final candy to be, since they won’t shrink down dramatically during cooking.
Step two: Boil to remove bitterness
This step matters more than people expect, particularly for citrus peels. Place the cut peels in a pot, cover them with water, and bring it to a boil, then drain completely. Repeat this process two to three times, using fresh water each time, since each round of boiling draws out more of the natural bitterness locked into the peel. Skipping this step, or only doing it once, is one of the most common reasons homemade peel candy ends up tasting harsh rather than pleasantly sweet.
Step three: Cook the peels in sugar syrup
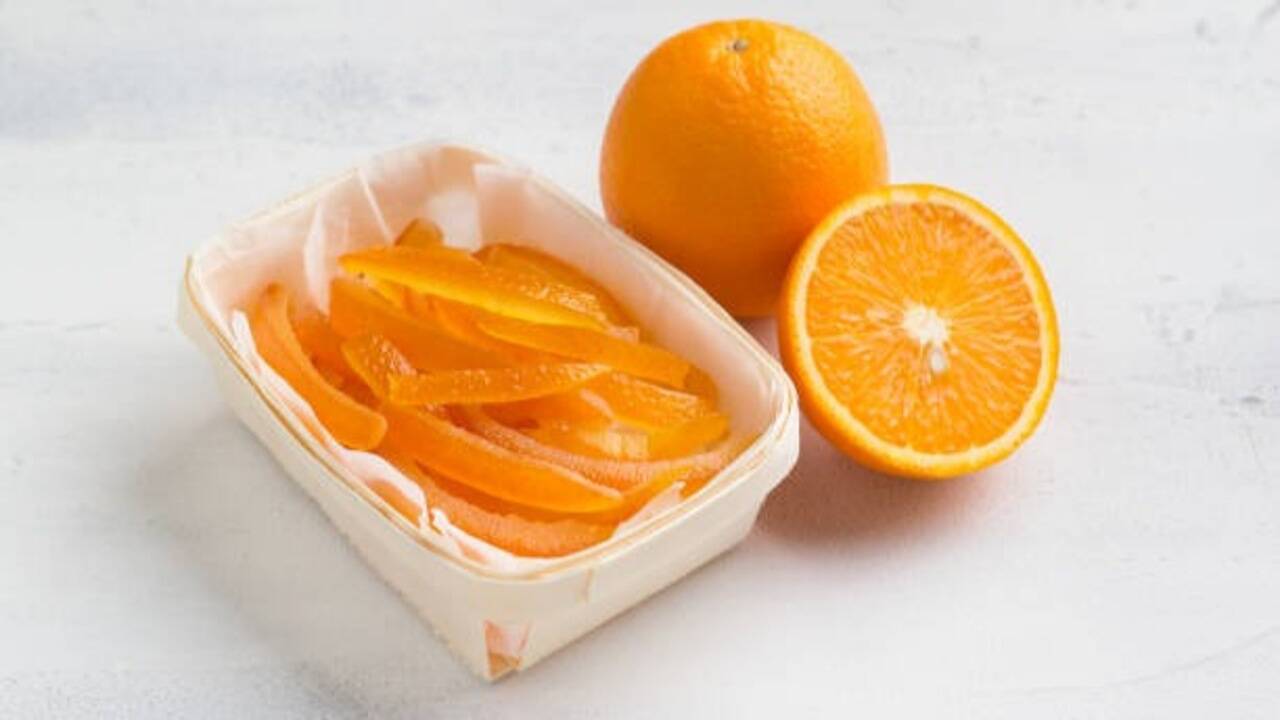
Once the bitterness has been boiled out, it’s time to actually candy the peels. Make a simple syrup using roughly equal parts sugar and water, bring it to a gentle simmer, and add the boiled, drained peels directly into the syrup. Let them simmer on low heat for around 45 minutes to an hour, stirring occasionally, until the peels turn slightly translucent and have absorbed most of the syrup, taking on a soft, glossy appearance. The exact timing varies depending on the thickness of the peel, so it’s worth checking in every ten minutes or so toward the end rather than walking away completely.
Step four: Dry the candied peels
Once the peels look translucent and syrupy, lift them out with a slotted spoon and lay them out in a single layer on a wire rack or parchment-lined tray, making sure the pieces aren’t touching or overlapping. Let them air dry for at least a day, sometimes up to two, depending on humidity, until they’re tacky rather than sticky wet. Speeding this up in a very low oven, around 90 to 100 degrees Celsius with the door slightly ajar, works too if you’re short on time, though air drying tends to give a nicer, more even texture overall.
Step five: Coat and finish
Once the peels have dried to that slightly tacky stage, toss them in a bowl of granulated sugar until each piece is evenly coated, which gives the candy that classic crystallised finish and also helps prevent them from sticking together during storage. For a slightly more indulgent version, dipping one end of each candied peel strip into melted dark chocolate and letting it set on parchment paper turns a simple homemade candy into something that looks genuinely special, almost like something you’d find in a fancy gift box.
Storing it properly
Once fully dried and sugar-coated, candied fruit peel keeps remarkably well, stored in an airtight container at room temperature for several weeks, and even longer if kept in the fridge. It’s worth keeping a layer of parchment paper between batches if you’re stacking pieces, since the sugar coating can occasionally cause them to stick together over time. This also makes it a genuinely good make-ahead treat for festive gifting or simply having something sweet on hand without needing to make a fresh batch every time.
A few common mistakes to avoid
If your candied peel turns out too bitter, it usually means the boiling step was skipped or rushed. If it ends up too chewy or tough rather than soft, that often points to the syrup cooking stage going on for too long, drying the peel out more than intended. And if the sugar coating clumps rather than staying loose and crystallised, it’s usually a sign the peels weren’t dried enough before being tossed in sugar, so it’s worth being patient with that drying stage rather than rushing straight to the final coating.
Disclaimer:
This article is intended for general informational and culinary purposes only. Always wash fruit thoroughly before peeling, and avoid using peels from fruit treated with pesticides or wax coatings where possible. Anyone with allergies or dietary restrictions should check ingredients carefully before preparing this recipe.