










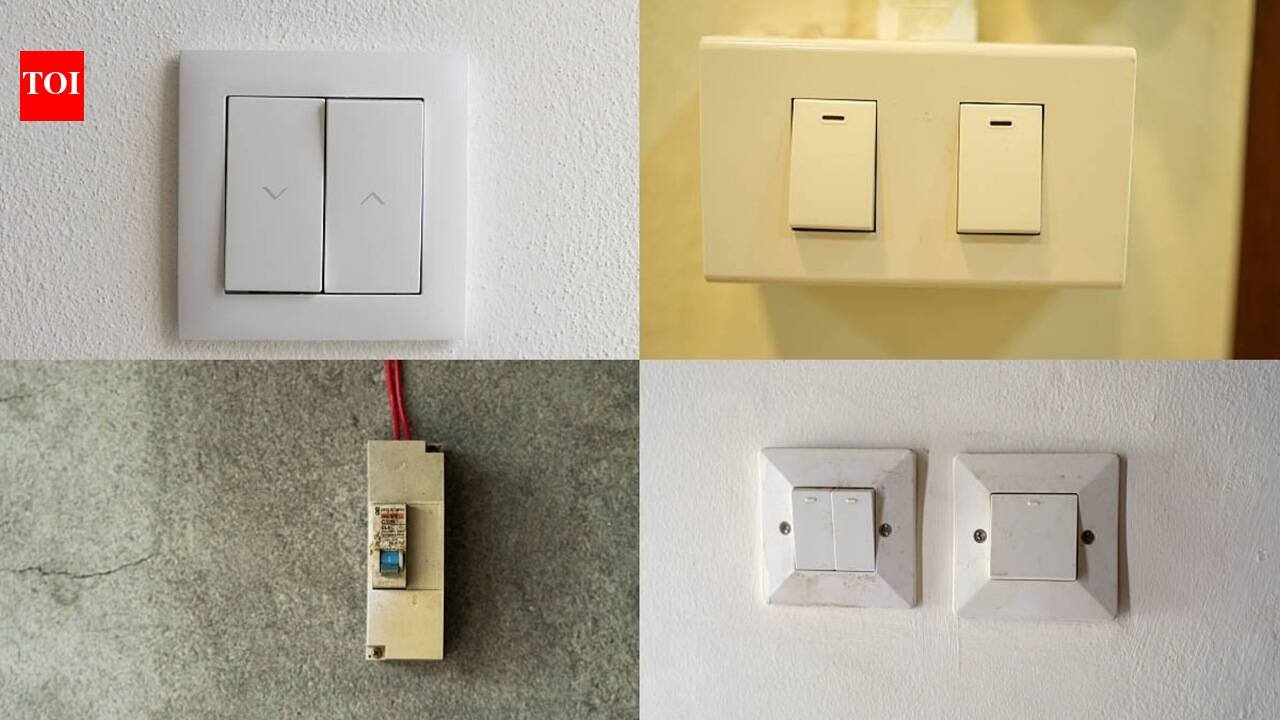
Switchboards are some of the most touched surfaces in any home and also most neglected when it comes to actual cleaning. Every time someone flips a light on or off, adjusts a fan regulator or charges their phone, a small amount of oil, dust and general grime transfers onto the plate, and because switch boards are set into the wall rather than sitting somewhere obvious, that buildup tends to go unnoticed for months. Reach for a bottle of bleach or a strong ammonia-based cleaner, though, and you’re working around live wiring with something considerably harsher than the job actually calls for. The good news is that switchboards don’t need industrial-strength chemicals to come clean; a few things already sitting in most kitchens can do the job just as well, provided you’re careful about how you go about it.
Why switchboards get dirty faster than you’d expect
It’s easy to underestimate just how much contact a switch board gets in a day. Hands that have been cooking, gardening, eating or simply out in the world all end up on that same plate multiple times, leaving behind a thin film of oil and dust that builds up layer by layer. Because the surface is usually plastic and sits flush against the wall, it also tends to attract airborne dust that settles into the grooves around the switches and stays there until someone actually wipes it down. Add a humid climate into the mix, and that dust can cling even more stubbornly, turning what should be a quick wipe into a proper scrubbing job if it’s left unattended for too long.
Start with a dry approach before anything else
Before any liquid comes near a switchboard, do a dry pass first. A soft, dry microfiber cloth or a soft-bristled brush can lift off the loose surface dust and cobwebs that tend to collect around the edges of the plate and in the gaps near the switches themselves. This step matters more than it seems, because going straight in with a damp cloth over a dusty surface just turns dry dirt into a smeary paste that’s harder to remove. A vacuum cleaner with a narrow crevice attachment also works well here, especially for switch boards with multiple switches or dimmer knobs where dust tends to gather in the tighter spaces.
The vinegar and water method
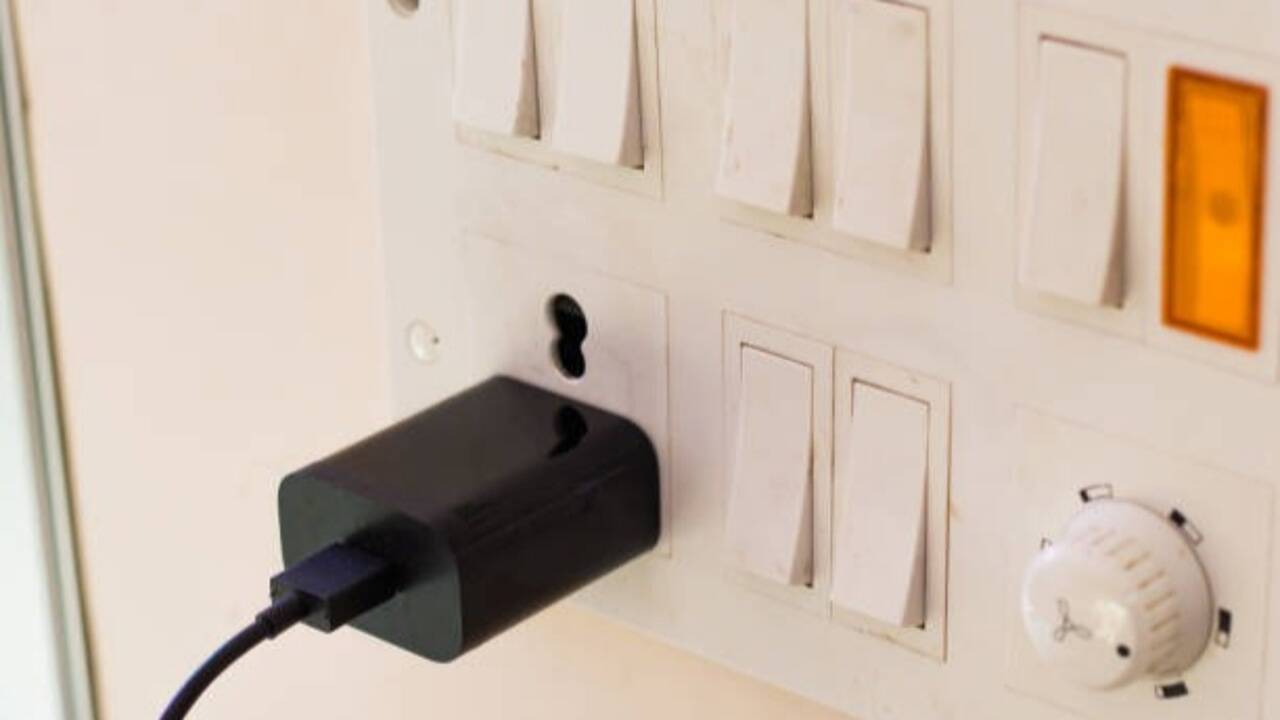
Once the loose dust is out of the way, a simple mix of equal parts white vinegar and water in a spray bottle handles most of the oily residue and fingerprint marks that accumulate over time. The important detail here is never spraying the solution directly onto the switch board itself, since any liquid finding its way into the switch mechanism or the wall socket behind it can cause real electrical problems. Instead, lightly mist a clean cloth with the mixture, then wipe the surface of the switch plate and around each switch, paying particular attention to the edges and grooves where grime likes to settle. Follow up immediately with a dry cloth to remove any leftover moisture, since a damp switch board left to air-dry on its own isn’t worth the risk.
Baking soda for stubborn marks
For switch boards with marks that don’t lift with a simple wipe-down, dark smudges near light switches, or grime that’s built up around the edges over a longer stretch of time, a baking soda paste works as a gentle natural abrasive. Mixing a small amount of baking soda with a few drops of water creates a thick paste that can be applied directly to the stained area with a soft cloth, then worked in with light, circular pressure rather than hard scrubbing. Because baking soda is mild rather than corrosive, it lifts stains without scratching the plastic or dulling whatever finish the switch plate has, which matters if you’re dealing with switch boards that have any kind of decorative coating.
A word on safety before you start
Cleaning anything electrical always comes with a few non-negotiables, and switch boards are no exception. It’s worth switching off the relevant circuit breaker before cleaning or, at the very least, making sure hands and cloths are properly dry before touching any switch to avoid any risk of shock. Cloths should always be damp rather than wet, wrung out thoroughly before they make contact with the switchboard, and any liquid solution should go onto the cloth first, never directly onto the plate or into the gaps around the switches. If a switchboard looks particularly worn, cracked or has any exposed wiring, that’s a job for an electrician rather than a cleaning routine; no amount of vinegar is worth working around damaged electrical fittings.
How often this actually needs doing
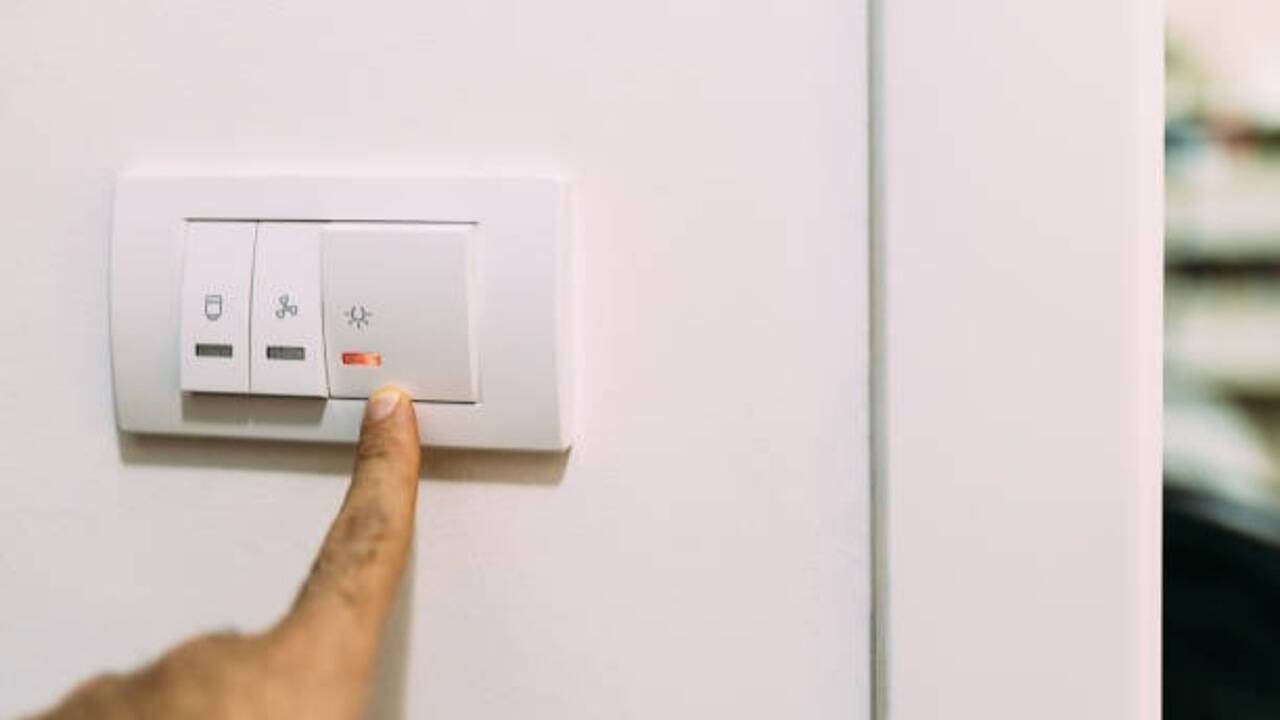
Switch boards don’t need daily attention, but a light wipe-down once every couple of weeks keeps grime from building up to the point where it needs serious scrubbing. High-traffic switches, the ones near the main entrance, the kitchen, or a child’s room, tend to need slightly more frequent attention given how often they get touched through the day. For most households, folding switch boards into an existing weekly or biweekly cleaning routine, alongside door handles and other frequently touched surfaces, is enough to keep them looking presentable without turning it into a separate chore altogether.
Disclaimer:
This article is intended for general informational purposes only. Always exercise caution while cleaning electrical fittings, and consider switching off the relevant circuit before cleaning. Readers with damaged, cracked or exposed switch boards should consult a qualified electrician rather than attempting to clean them at home.