










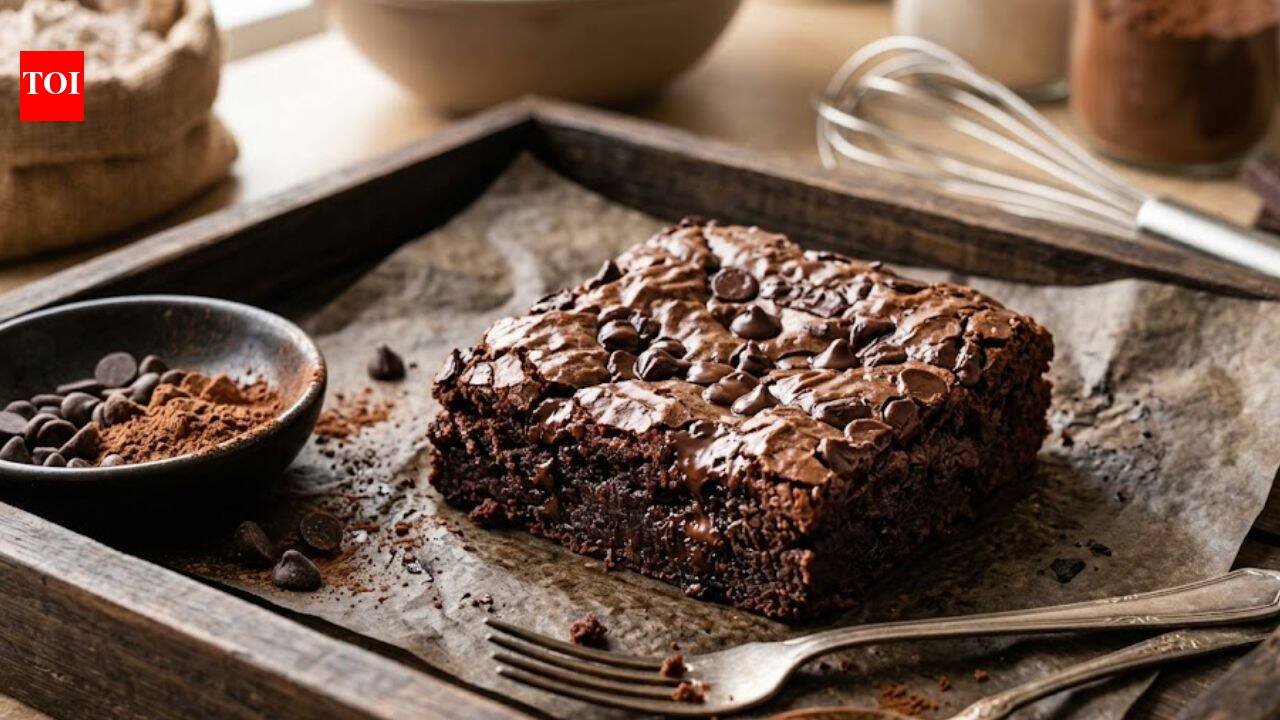
Brownies are one of the easiest chocolate desserts to make at home, and you do not need eggs to get a soft, fudgy texture. This eggless version uses whole wheat flour, cocoa powder, dark chocolate, butter, sugar, and full-fat milk to create rich brownies with a deep chocolate flavour. The method is simple, but a few details can make a noticeable difference. Combining the dry ingredients helps create a smooth batter, while gently mixing prevents the brownies from becoming overly dense. The batter is poured into a greased pan and baked until set, then cooled before slicing. With the right temperature and baking time, these homemade brownies can have a soft centre, rich chocolate taste, and a lightly crisp top.
5 simple steps to make eggless brownies at home
1. Prepare the flour mixture and baking pan
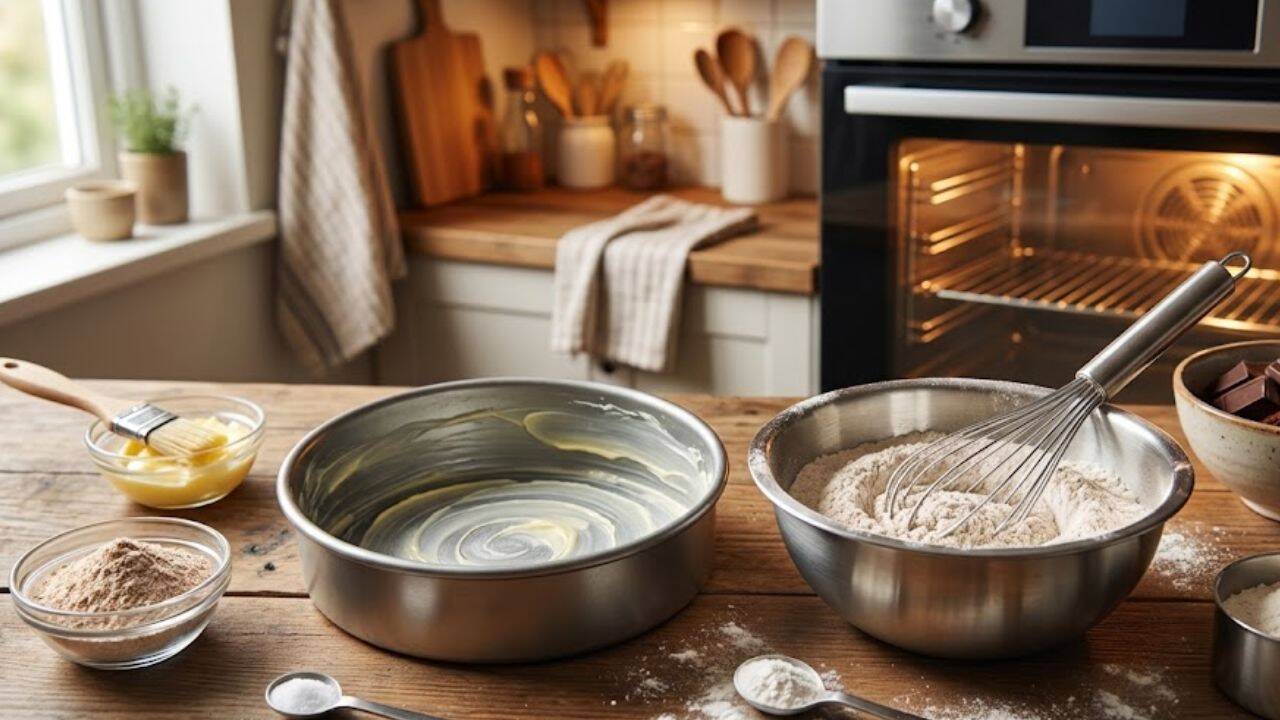
Start by greasing a baking pan with softened butter or oil. Add the whole wheat flour, baking powder, and a pinch of salt, then mix them together in a bowl. Blending helps remove lumps and keeps the dry mixture even. The recipe uses ½ cup or 60 grams of whole wheat flour and ¼ teaspoon of baking powder. Preheat the oven to 180°C for about 15 minutes. Keep the blended flour mixture aside while you prepare the chocolate mixture.
PC: AI Generated
2. Make the warm cocoa and chocolate mixture
Heat 1 cup of full-fat milk in a saucepan over low to medium heat. The milk should become hot but should not boil. Lower the heat and add ⅓ cup of sugar, 60 grams of softened unsalted butter, and ¼ cup of cocoa powder. Whisk everything together until the sugar dissolves and the cocoa blends smoothly into the milk.The mixture should look smooth and free of cocoa lumps. Turn off the heat and add ¼ cup or 40 grams of dark chocolate chips or chopped dark chocolate. Whisk again as the chocolate begins to melt into the warm mixture.
3. Combine the ingredients to make the batter
Pour the warm cocoa, butter, and chocolate mixture into the bowl containing the blended flour. Add ½ teaspoon of vanilla extract if using it. Mix the wet and dry ingredients gently with a spatula.The finished batter should have a medium consistency that flows easily without becoming either very thick or watery. If it looks too thick, add a few tablespoons of hot milk and mix again. If it is too thin, a small amount of flour can be added. The amount of milk needed can vary with the flour.
4. Transfer the batter and add chocolate chips
Pour the brownie batter into the prepared baking pan and spread it evenly. For extra chocolate in each piece, scatter two to three tablespoons of dark chocolate chips over the surface. This gives the finished brownies additional chocolate pockets and a richer appearance. Make sure the batter is spread evenly before placing the pan in the oven. Keeping the mixture at a reasonably even thickness helps it bake consistently from the centre towards the edges.
5. Bake, cool and slice the brownies
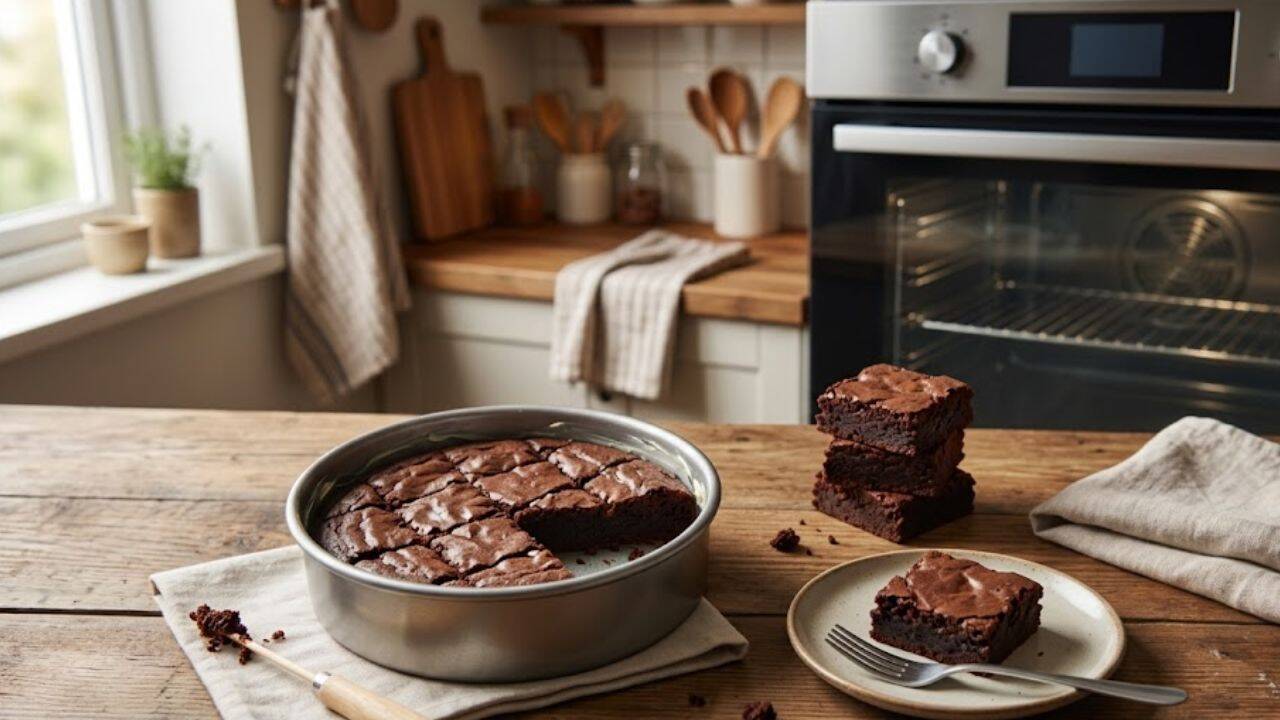
Place the pan on the centre rack and bake the brownies at 180°C for about 28 to 35 minutes. Avoid opening the oven door until the brownies are about three-quarters done. Since oven temperatures can vary, check the brownies with a toothpick to see if they are done. It should come out clean or with a few crumbs. Let the brownies cool before removing them from the pan. Once cooled, cut them into squares and serve.
PC: AI Generated
5 mistakes to avoid while baking eggless brownies
1. Do not overmix the brownie batter
Once the warm chocolate mixture has been added to the blended flour, mix only until the ingredients are combined. Long or vigorous mixing is unnecessary for this recipe and can affect the final texture. Use a spatula or whisk gently rather than beating the batter for a long time. Keeping this stage gentle helps the brownies retain the soft texture.
2. Heat the milk over low to medium heat
The milk needs to become hot enough for the sugar, butter, and cocoa powder to blend smoothly, but it should not boil. Heat it over low to medium heat and pay attention as it warms. Once it is hot, lower the heat before adding the other ingredients. Whisk the mixture until the sugar dissolves and the cocoa becomes smooth. This creates the smooth chocolate base needed for the batter. After adding the dark chocolate, turn off the heat and allow the warmth of the mixture to help melt the chocolate.
3. Avoid adding too much flour
Using too much flour can make the brownies dense and dry instead of soft and fudgy. Whole wheat flour can also absorb a good amount of liquid, so it is better to follow the suggested quantity carefully. If the batter looks slightly thick, adjust it with a little hot milk rather than adding extra flour. The finished mixture should remain smooth and easy to spread in the baking pan.
4. Do not bake the brownies for too long
Overbaking can change the texture of these brownies and can leave them dry and crusty. The suggested baking time is about 28 to 35 minutes at 180°C, although ovens can vary. Keep the pan on the centre rack and avoid repeatedly opening the oven door while the brownies are baking. Then, test the centre with a toothpick. The brownies are ready when the toothpick comes out clean or with a few crumbs. Removing them at the right stage helps preserve their soft texture.
5. Do not slice the brownies while they are still hot
Freshly baked brownies need time to cool before they are removed from the pan or cut into squares. Letting them cool allows the texture to settle and makes slicing easier. Once the brownies have cooled to room temperature, remove them from the pan or slice them directly in the tray. If you are not serving them immediately, place the pieces in an airtight container and refrigerate them. This also makes it easier to store the brownies for later.