









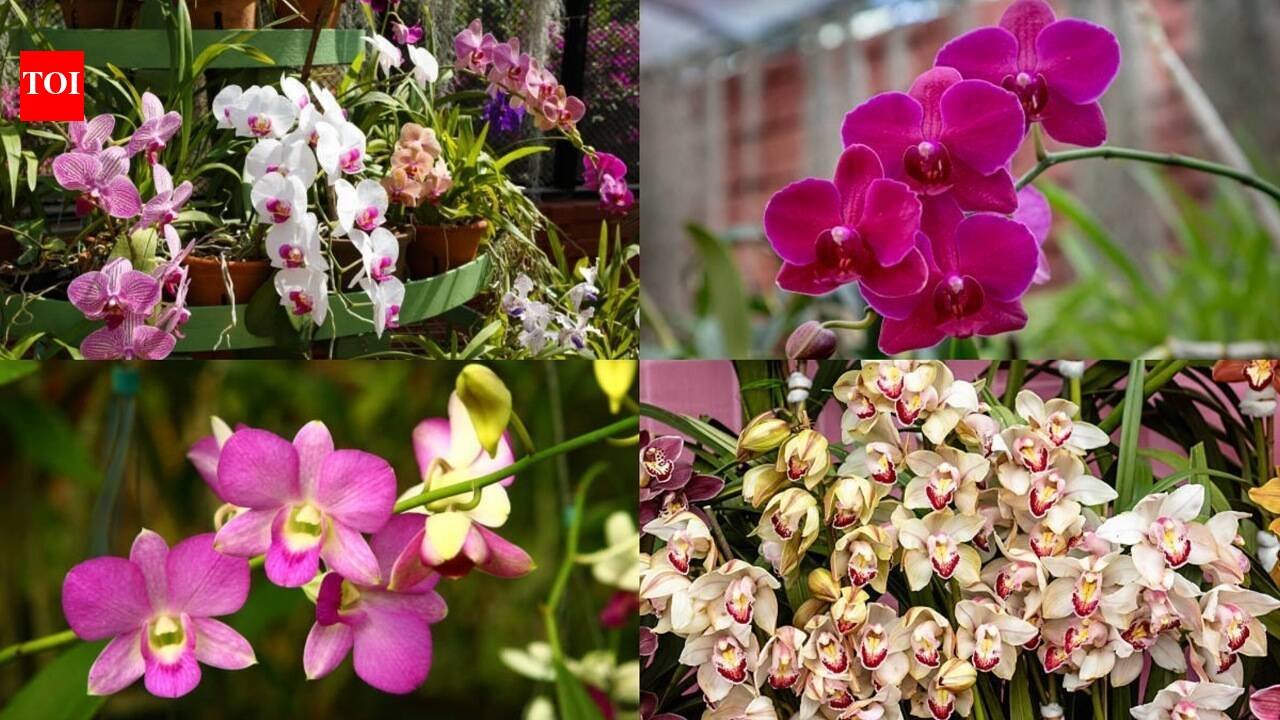

There’s a particular kind of guilt that sets in when you look at an orchid that once had gorgeous blooms and now sits there with yellowing, wilted leaves and not a flower in sight, wondering if you’ve somehow killed it beyond saving. The good news is orchids are considerably tougher than their delicate reputation suggests, and most struggling plants, even ones that look genuinely close to death, can be nursed back to health with the right intervention. The key almost always lies beneath the surface, in the roots, which tell you far more about what’s actually wrong than the leaves ever will. Here are seven simple steps to bring a nearly dead orchid back to life and set it up to bloom again.
Start by checking the roots, not the leaves
This is the single most important diagnostic step, and skipping it means guessing at a problem you could otherwise identify with certainty. Gently remove the orchid from its pot and rinse away any old potting mix clinging to the roots. Healthy roots will be firm and appear green or silvery-white, while roots in trouble tell a clear story of their own, brown, black, or mushy roots point to rot from overwatering, while thin, shrivelled, papery roots suggest the plant has actually been underwatered rather than drowned.
Trim away anything dead or rotting
Once you know what you’re dealing with, use sterilised scissors or a razor blade to cut away every mushy, hollow, or discoloured root, trimming back until you reach firm, healthy tissue. Don’t hold back here, even if it means removing the majority of the root system, since dead roots serve no purpose and can actually spread rot to the parts still capable of recovery. Lightly dusting the fresh cuts with ground cinnamon, a natural antifungal, helps protect the wounds as the plant begins its recovery.
Let the roots dry and callus before repotting
This step is easy to rush past, but it genuinely matters. Leave the trimmed orchid unpotted for several hours, or ideally overnight, allowing the fresh cuts to air dry and form a protective callus. Repotting immediately after trimming, while the wounds are still open and moist, significantly raises the risk of new infection taking hold before the plant has had any real chance to heal. A little patience at this stage pays off considerably later in the recovery process.
Repot in proper orchid mix, never regular soil
Orchids are epiphytes, meaning in the wild they grow clinging to tree bark rather than rooted in soil, and their roots need airflow that ordinary potting soil simply can’t provide. Use a proper orchid mix made of bark, perlite, or a bark-and-sphagnum-moss combination, and choose a pot just snug enough to hold the remaining root mass, with plenty of drainage holes. A pot that’s too large holds excess moisture around the roots for too long, which is often exactly how the plant ended up in trouble in the first place.
Hold off on watering right after repotting
Once repotted, resist the urge to water immediately. Most orchid growers recommend waiting around five to seven days before the first watering, giving the freshly cut roots time to properly heal and settle into the new mix without added moisture working against that recovery. When you do resume watering, water thoroughly but only once the mix has almost completely dried out again, rather than sticking to a fixed daily or weekly schedule regardless of conditions.
Get the light and humidity right
A recovering orchid needs bright but indirect light, a north or east-facing window works well, since direct, harsh sun can scorch already-stressed leaves, while too little light will stall recovery altogether. Orchids also appreciate higher humidity than most homes naturally offer, so placing the pot on a humidity tray, a shallow tray filled with pebbles and a little water, sitting just below the pot itself, helps recreate the moist air these plants would naturally get in the wild.
Be patient, and let new growth guide you
Recovery isn’t instant, and that’s completely normal. Depending on how far gone the plant was, it can take anywhere from several weeks to a few months before you see genuine signs of improvement, plumper, firmer leaves, and most importantly, new root or leaf growth emerging. Once the plant looks genuinely healthy and stable again, regular repotting every year or two, done right after a bloom cycle ends, is what keeps orchids flowering reliably for years, rather than just barely surviving in the same tired mix indefinitely.
Disclaimer:
This article is intended for general informational purposes only. Recovery success and timelines can vary depending on the orchid species, the extent of root damage, and your specific growing conditions. If the crown of the plant has turned mushy and black, or no viable roots remain at all, the orchid may be beyond saving. It’s advisable to consult a local nursery or orchid specialist for guidance tailored to your specific plant.